
If you want to add a new platform to the ones already supported in RetroPie, such as a Commodore Plus/4 or Amstrad GX4000, you are going to have to make RetroPie aware that the system exists, and provide a system page for it.
This tutorial only tells you how to add the platform to the menus in Retropie. Each system you add will require a different set up to make it work. We will create some tutorials for some popular and not so popular systems in the future.
To add a page for your new system, you are going to have to edit a file called es_systems.cfg.
This file lives in a folder called /etc/emulationstation/. This folder is fiddly to get to as it involves doing a bit of stuff in the terminal, plus any changes you make to it, will get overwritten when you update your RetroPie.
So we’re going to make a copy of it, to make it easier to access, and to avoid it getting overwritten. We’re going to do the same with your themes folder to make it easier to edit the themes for your new systems too.
One thing to bear in mind though, is if new systems are added via a RetroPie update, then you will need to manually add these (or copy them) to your new custom file. It might be worth embarking on this after you have already been through Retropie’s optional and experimental packages to see if there is anything else you wish to add first.
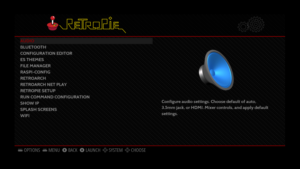
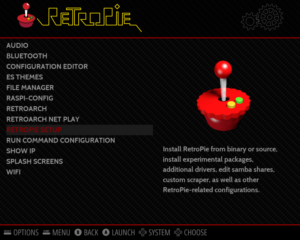
The easiest way of copying these folders and files is via a separate PC. You’re going to need to make sure you have enabled remote command line access to your Pi using SSH. If you haven’t done this, you can follow the instructions in this article here. (remembering to make a note of your Pi’s IP address. You can also find your Pi’s IP address via an option on the the Retropie Settings page)
You will Need:
- PC connected to the internet
- SSH Client (Mac users can use the built-in Terminal app (check the
Otherfolder in yourApplicationsfolder). PuTTy is recommended for Windows users.) - Text Editor (We recommend BBEdit for Mac, and Notepad for Windows. Do not try using Word)
Make sure that your Raspberry Pi is connected to the Internet.
In your SSH client type the following, (replacing xxx.xxx.x.xx with the IP address for your Raspberry Pi).
ssh pi@xxx.xxx.x.xx
You then need to type the password. Unless you have changed it, the default is raspberry.
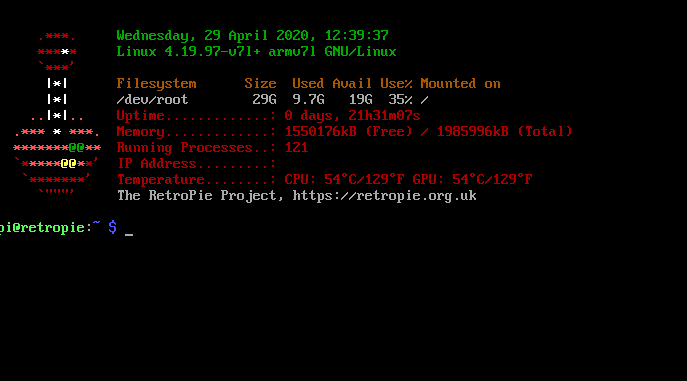
You should now see a screen like this:
Now copy and paste the following into your SSH client.
sudo cp /etc/emulationstation/es_systems.cfg /opt/retropie/configs/all/emulationstation/es_systems.cfg
This makes a copy of the file that is accessible via SAMBA share. If you’ve followed the instructions here you should have set this up to transfer your ROMs across.
Now lets do the same for the themes folder:
Copy and paste the following into your SSH client:
sudo cp -r /etc/emulationstation/themes /opt/retropie/configs/all/emulationstation/themes
This one may take a little longer than the last one depending on how many themes you have downloaded.
Accessing the systems.cfg file
If you haven’t set up SAMBA share for your Retropie, you can follow the instructions in our set-up guide here (see the section ‘adding games to your retropie).

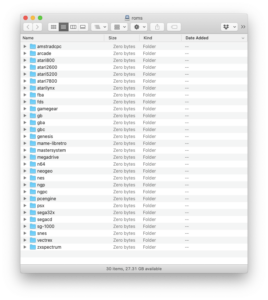
You can now locate the es_systems.cfg file via SAMBA. (It’s in configs, then go to all > emulationstation). The themes folder should also be in the same place.
Open the file in your text editor. It should look something like this:

Each system is represented in the following format, here’s one for the Channel F as an example:
 tags. If you’ve ever written any HTML you’d be familiar with the opening tag, and closing tag system.
 Within the  tag there are several sections as follows:
To create a new system you just need to add one in the above format.
You will also need to create a theme for the new system.
Go to configs / all / emulationstation / themes /
You should have a folder for each system on your retropie. The easiest thing to do is make a copy of one of these folders, and base the template for your new system on that. If you’re using the default carbon theme, you can just place an svg format logo called system.svg in the art folder.
If you’re unable to copy things in the themes folder you may need to adjust your permissions. Via SSH type,
sudo chown pi -R /opt/retropie/configs/all/emulationstation/themes
And that should do the job!
We will be running a series of tutorials about adding a variety of systems in the near future.
Related posts:
 Adding Commodore Plus/4 emulators, YAPE and VICE, to RetroPie
 Adding games to your retropie
 Adding additional Emulators to RetroPie
 RetroPie 4.5 released
 How to set up RetroPie and create your own retro games console
 Setting up WiFi on the RetroPie
 Retropie launches version 4.6. Now includes Raspberry Pi 4 support
 Wordle Retro-Clone Round-Up
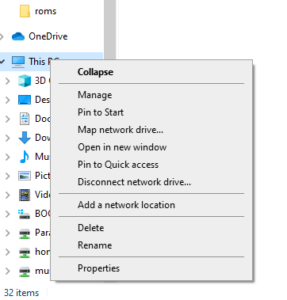 Setting up SAMBA share on Windows 10 to access files on the RetroPie
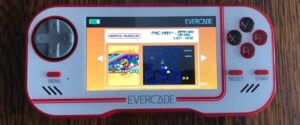 Hardware Review: Evercade
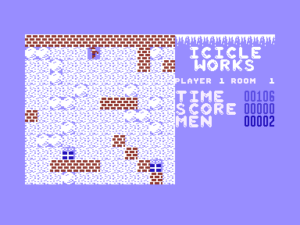 Interview with Icicle Works programmer Doug Turner, plus new Plus/4 game!
 Flashing an SD card for use in a Raspberry Pi