
Adding games via a USB stick
Plug a USB stick into your computer and in the root directory, create a folder called retropie. We advise you to use a USB stick with an indicator light on it, so you know if it is in use.
Now plug the USB stick into your Raspberry Pi. When the indicator light has stopped flashing, remove it, and place it back into your computer.
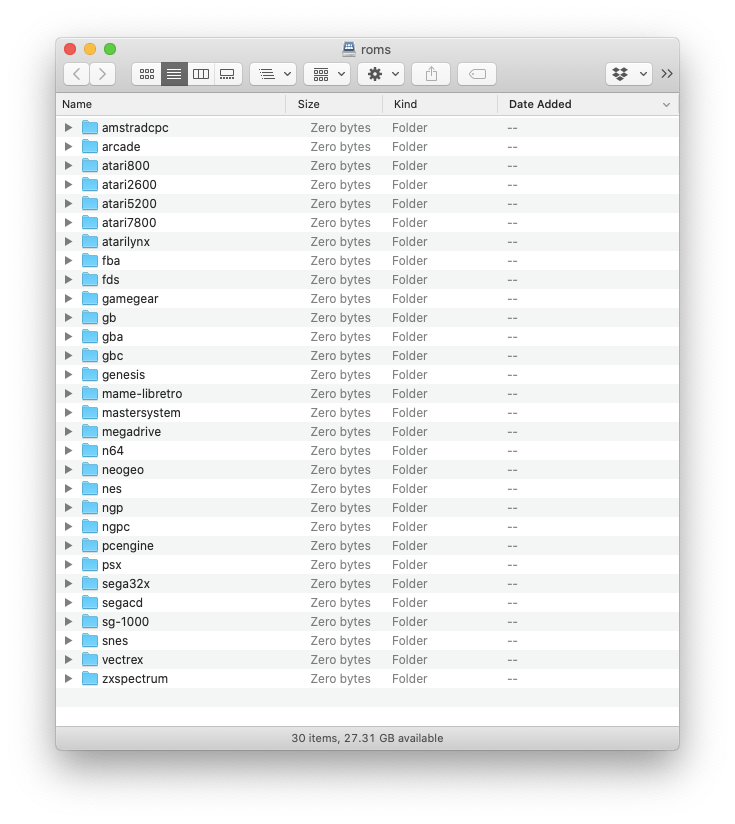
When you open the retropie folder you will now see a whole bunch of folders representing each system. Place all your roms in the correct folders, and then plug it back into your Raspberry Pi.
Depending on how many roms you have added, this may take some time. When the indicator light has finished, remove the USB stick and reboot the Raspberry Pi. If all has worked, you should now have games on your RetroPie.
Adding games via SAMBA share.
Connect to your RetroPie using SAMBA. You can follow our guides for Mac OS or Windows 10.
Navigate to the roms volume and you’ll see a big list of folders representing all the systems on your RetroPie.
Drag your game file to the system it belongs to. In our case, we’re going to upload the awesome new home brew Game Boy title, Quest Arrest.
Once you have added your games, they won’t appear in RetroPie immediately, you will need to restart Emulation Station.
To do this, press the Start button on your controller, while in one on the RetroPie screens, and a Main Menu will appear.

Select Quit
And in the next screen select Restart Emulation Station

When the system restarts, you now have a new Game Boy section!

And if all has gone to plan, we should have Quest Arrest in the Game Boy section:

Let’s see if it works…

Looks like it did!
To exit a game, just press Select and Start on your controller at the same time.
To add other games to other systems, you just repeat that process. Some systems take a little bit more setting up, but we’ll come to them another time. In the meantime, the following systems are basically, ‘put the games in and it just works’
- Atari – Atari 2600
- Atari – Atari 7800
- Atari – Lynx
- Nintendo – Game Boy
- Nintendo – Game Boy Advance
- Nintendo – Game Boy Color
- Nintendo – N64 (Needs a fast Pi)
- Nintendo – Nintendo Entertainment System
- Nintendo – Super Nintendo Entertainment System
- PC Engine / TurboGrafx-16
- Sega – Game Gear
- Sega – Master System
- Sega – Mega Drive / Genesis
- Sega – SG-1000
- Vectrex
Tip: If you are having audio issues with the Raspberry Pi 4 – check your HDMI cable is in the correct port. It should be in the one labelled 0 and it’s the one nearest the power cable..
You can finish now if you like! There are lots more things you can do to customise your RetroPie and we’ll be adding new posts to this series on a regular basis
Related posts:
 Adding Commodore Plus/4 emulators, YAPE and VICE, to RetroPie
 How to add a new platform to the RetroPie interface.
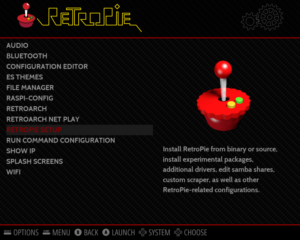
 How to set up RetroPie and create your own retro games console
 How not to launch a console: A brief history of the Intellivision Amico
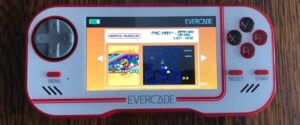 Hardware Review: Evercade
 List of games available on Antstream Arcade (Updated August 2022)
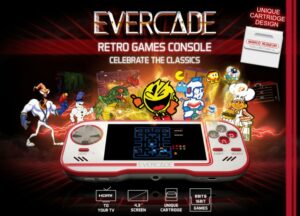 New retro-inspired handheld, Evercade, Launches first trailer
 Retropie launches version 4.6. Now includes Raspberry Pi 4 support
 Ashtrays, Bread bins and Toastracks: A guide to retro computing slang
 RetroPie 4.5 released
 Pre-orders open for Nuon USB controller adaptor
 Adding additional Emulators to RetroPie