
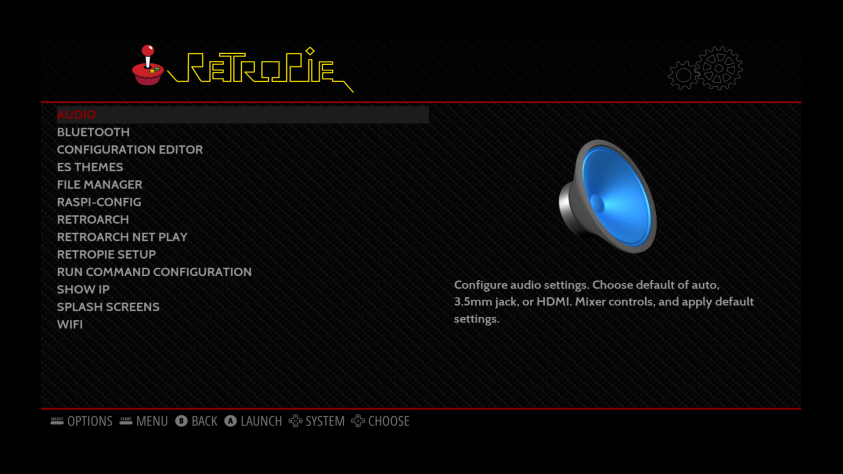
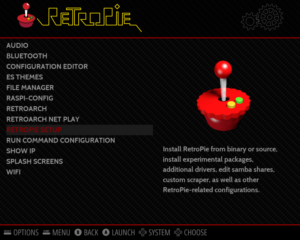
The RetroPie Configuration Page. The WiFi option is the one at the bottom
You will need to first set your country in the Raspberry Pi Configuration tool.

The Raspberry Pi Software Configuration Tool. Set your WiFi country in Localisation Options.
Go down to Option 4, which is called Localisation Options. Tip: It’s easier using the keyboard on this config menu than the controller.
Then on the next page, again choose Option 4, which is Change Wi-fi Country. (If you’re in the UK, then it’s in the G section between Gabon and Grenada.)

If you’re ever likely to interact with your Pi using SSH, then we may as well do that now. Go down to Option 5: Interfacing Options, then enable Option 2 to enable SSH. (If none of that made sense to you, it is unlikely you will want to use SSH, so skip this bit – you can always come back later)

Now go down to Finish, and you’ll be thrown to the following page.

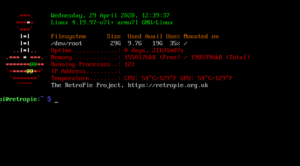
Choose Option 1 to add your WiFi credentials. Once connected, the screen will display your IP address – make a note of it, or snap a picture of the screen with your phone. (This is handy if you’re going to be using SSH)
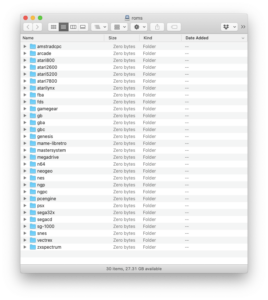
If you need to find your IP address at a later stage, you can always view it in the RetroPie setting page within EmulationStation.
Now go to Exit, and you’ll get back to the main RetroPie Interface.
Related posts:
 How to add a new platform to the RetroPie interface.
 Adding Commodore Plus/4 emulators, YAPE and VICE, to RetroPie
 Twenty Great Commodore Plus/4 Home-brew games
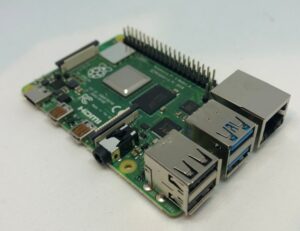
 How to set up RetroPie and create your own retro games console
 Retropie launches version 4.6. Now includes Raspberry Pi 4 support
 Adding games to your retropie
 Adding additional Emulators to RetroPie
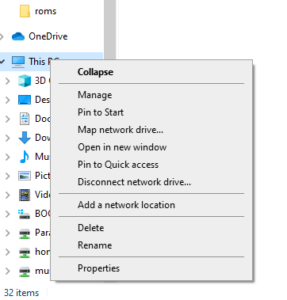 Setting up SAMBA share on Windows 10 to access files on the RetroPie
 RetroPie 4.5 released
 Flashing an SD card for use in a Raspberry Pi
 Blaze celebrate Evercade’s 2nd Anniversary with new hardware and new carts
 Every secret and hidden game on the Evercade VS, EXP and original Handheld